
This was my first endeavor into reupholstering anything significant and I only lost my cool once in the process so I would deem this project a success!
Here is the chair that I started with. Nate and I picked it up at the Habitat for Humanity Restore in Orlando for $45.

The shape was exactly what we were looking for but the fabric was gross and definitely not our style and so I decided that, for the price, it was worth trying to reupholster it.
The first thing that I did was take off all the fabric. I think this chair has been reupholstered at least once before because there were so many staples that it took about 3 nights (working a couple of hours at a time) to take them all out. By the end I had gotten into a pretty good rhythm of using a flat head screwdriver (a small one) to pry up the staple and then using pliers to grasp them and use the wood frame to leverage them out. I used the micro flathead for the staples that were really attached.

Once the fabric came off we were able to access the condition of material underneath and were pleasantly surprised that everything was in really great condition.

I kept the fabric that I removed from the chair so I could use them as templates. When I was cutting my fabric, I added about 1-2 inches around the whole piece to give myself a little fudge room. Near the base of the chair I left even more since I knew I could just cut off any extra at the end.

Once I had replicated the shapes of the old fabric, I started to put the new fabric onto the chair. I started with the seat piece. This one was fairly straight forward. I just put the fabric back on like I took it off, pulled it tight and then used my staple gun to attach the fabric under the chair. For the back part of the seat, there was a small gap that I fed the fabric through and then was able to attach under the chair.

You may notice that I decided to do something a little different on the front of the chair. Instead of having another piece of fabric that wrapped around the front, I decided to just pull it taught and attach. I like the smoother look that this gives the chair.

The only tricky part of this piece was the corners. I cut a slit up the fabric right in front of the leg and then folded the fabric into a "hospital bed" corner.

The next two pieces of fabric were much harder. Next up was the front half of the back of the chair. Once again, I put my new piece of fabric back on in the same orientation as the old piece of fabric. I then pull the bottom of the fabric through the small gap in the back and attached under the seat.

I then stretched the fabric over the little arms and attached with my staple gun so that the fabric was nice and tight. As you can see, I wanted to add some buttons to the chair and initially I thought it would be easier to attach the buttons and then attach the rest of the fabric. I was wrong. I couldn't get the fabric to lay right no matter what I did. This is when I almost lost it and just gave up. But, I regrouped and cut the buttons off. Without the buttons attached, I was able to stretch the fabric over the top edge of chair and secure it so that the fabric lay correctly.

Then I was able to attach my buttons.

This is the front view

And the back view for how I attached the buttons.

I used upholstery thread so that it would hold up
Then I put the batting back onto the back

And this time I started from the top. As you can see, I put the last piece of fabric upside down and lined up the top of the chair with the top of the fabric.

Once I stapled it all down, I flipped the fabric back over and had a really nice seam along the top of the chair.

Then I pulled the fabric taught and put a few staples in the bottom of the chair.

Then I pulled the fabric tight to the side, folded the fabric over at the edge and then stapled on the outside. Don't worry too much, they won't be there too long but I wanted everything to be in place. Then I continued to staple around the bottom making sure the fabric was taught.

When I was done replacing all the fabric this is what the chair looked like

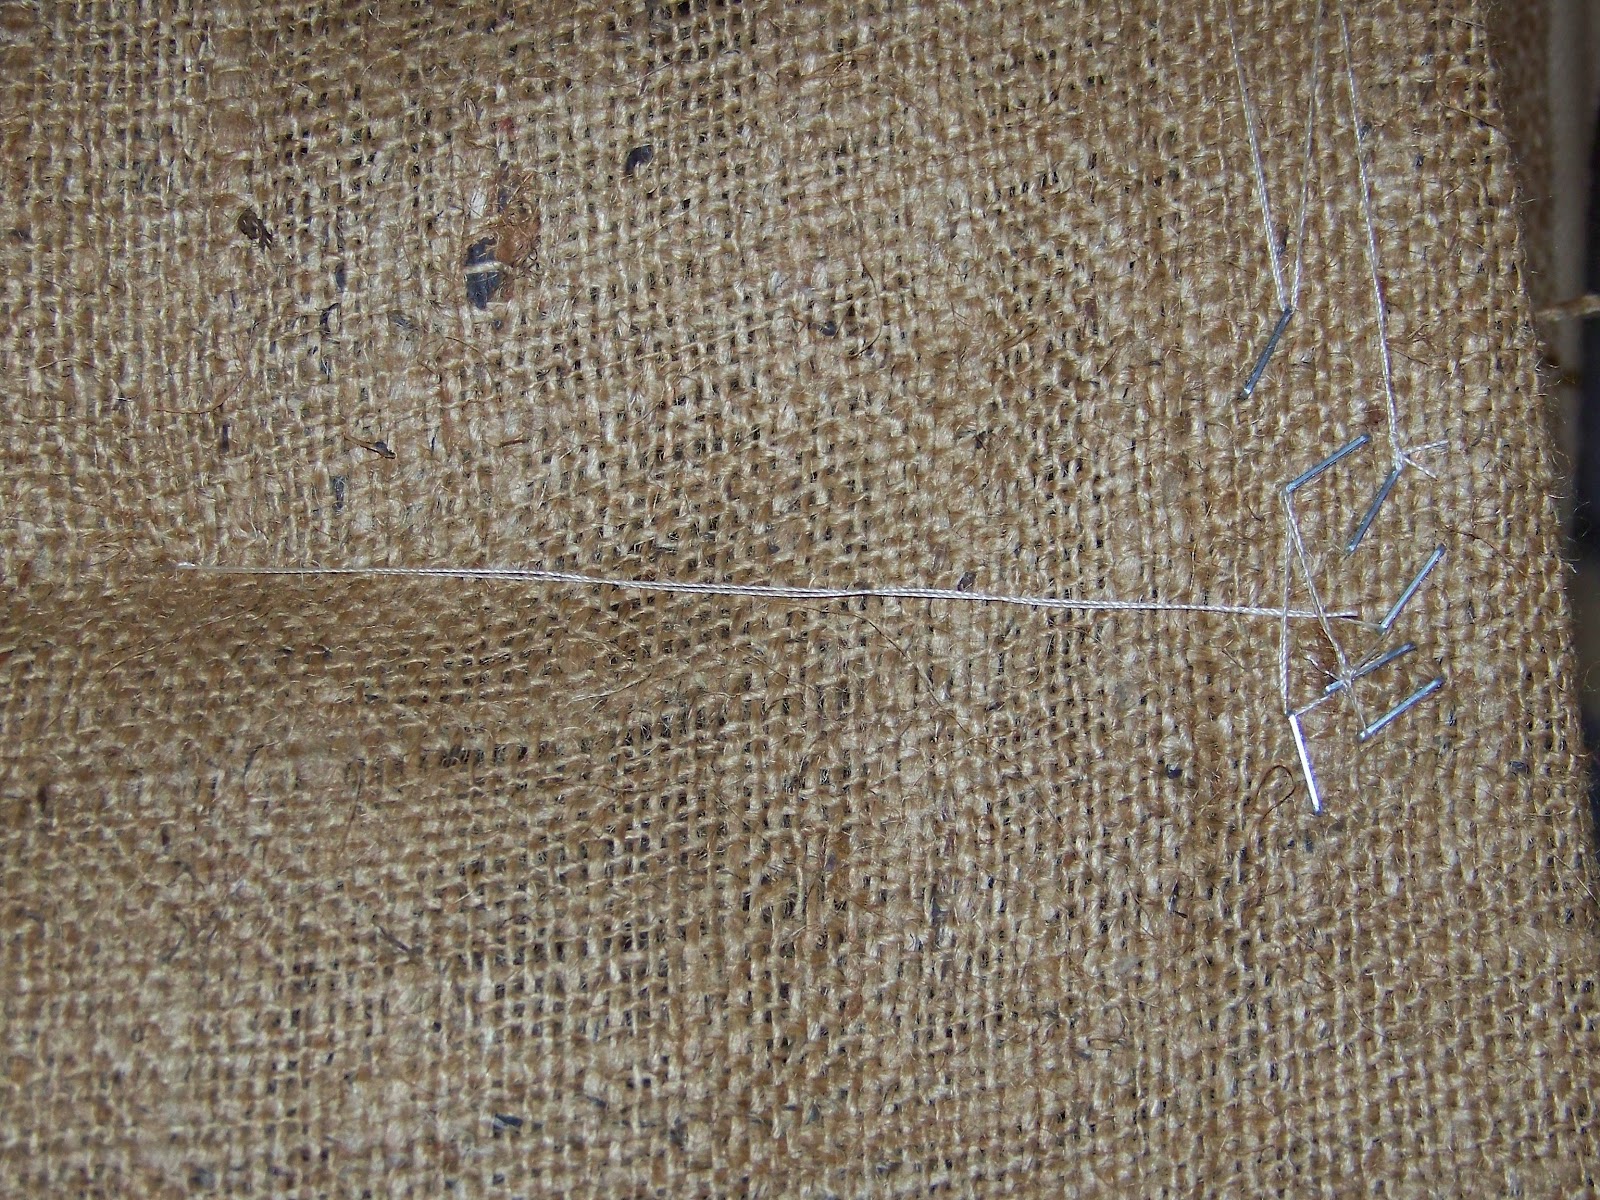
But I still had to deal with this

So, using nail heads, I replaced the staples. Stapling the fabric first made it a lot easier to keep the fabric in place while I nailed the upholstery nail in.

After all the staples were replaced I had officially finished my first upholstering job!


I still plan on staining the legs, but right now I'm basking in the glory of not completely ruining my new chair!

Total cost to revamp this chair (including the price of the chair): $64
Linking To: Hi Sugar Plum, The Great Indoors, House of Hepworths, My Repurposed Life, Our Delightful Home, Five Days Five Ways, Serenity Now, Lovely Etc., The Rooster and the Hen, Six Sisters Stuff, Tatertots and Jello, Wayward Girls Crafts, Twigg Studio, Serendipity and Spice, Ask Anna, Home Stories A to Z, Uncommon Designs, House wives of Riverton, Crafty Texas Girls, Southern Institute, Watch out Martha!
You did such a great job, especially considering that this was your first time! I'm so jealous!!
ReplyDeleteI would love it if you would link up at Watch Out, Martha!’s link up party: Martha Mondays (every Monday through Wednesday)! Hope to see you there!
http://www.watchoutmartha.net/
Thanks! I'm heading over right now to check it out!
DeleteWow, I am totally impressed. I'm sharing this on the ranch's FB page so grab yourself a featured Cowgirl up button if you like!
ReplyDeleteWow! Thank you I'm flattered!
DeleteFabulous chair! You did an amazing job - very impressive. I'm a new follower.
ReplyDeleteCarolyn
{my simple messterpiece}
Thanks so much!
DeleteReally good job. I'm hoping to take on a love seat with similar arms, so I'm pinning this for future reference. Love the chair, and a question...love your rug, too! Do you have a source for that?
ReplyDeleteThanks! The rug is from Garden Ridge http://www.gardenridge.com/. I just recently learned about this place and it is pretty awesome!
DeleteLove this! I have an old chair that I took from my grandfather's house and my husband has wanted to get rid of it for years. It's on the attic now and I have big plans to reupholster as soon as I have (or MAKE) the time! :) Thanks for sharing and giving me motivation to try it out myself!
ReplyDeleteThis looks really great. I have only reupholstered seats before, never a whole chair. I am too scared! You did great. Looks very chic!
ReplyDeleteYour chair turned out SO well! Thanks so much for sharing it with us!
ReplyDeleteTake care,
Trish
Very awesome. I've been contemplating reupholstering one of my sofas (and getting rid of the other) but I'm scared!! This project gives me hope that it could be done because it would be so much more economical than buying a new one.
ReplyDeleteThanks for the inspiration!
Jessica @ At Home Take 2
Hi Im so happy that I stumbled on this blog! I am reupholstering the SAME chair that I found at a thrift store here in Florida!! Im having such a hard time stretching the fabric over the missle with just one piece across the arms!! Any tips??
ReplyDeleteI remember fighting with this a lot. I attached it at the bottom first and then stretched it best I could up. You can see that the fabric kind of looks a little rippled from the stretch but over time that has gone away. I wish I had better advice! I just stretched best I could
Delete