
Are you itching to see what project we did on our trip? Probably not, but I'm going to share anyway because I'm super proud of what Nate accomplished. Besides helping get supplies and think through things a bit, I contributed nothing to this project (scratch that... I did hold a light for awhile... probably shouldn't count that though). All the hard work was done by Nate, my brother-in-law and my dad... we'll call it a male bonding experience.

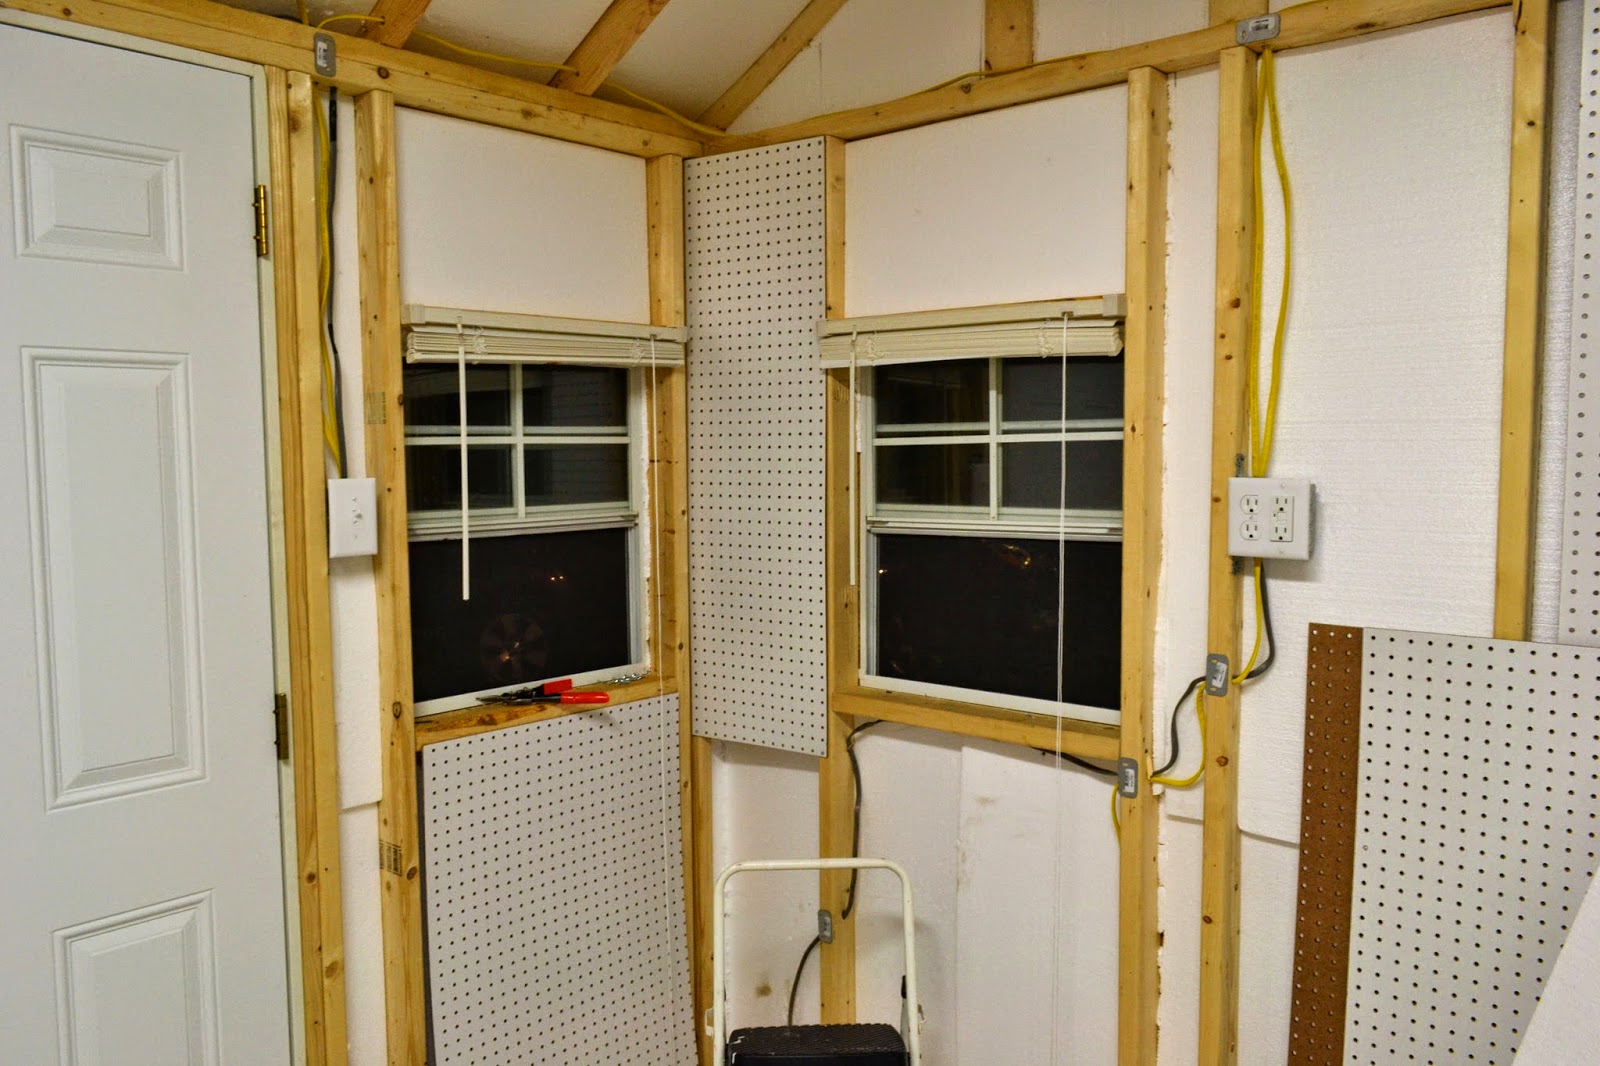
My parents recently had a new shed put in that is going to be a workshop. The structure was there but it didn't have any permanent electricity to it. They have a storage shed that they had electricity run to years ago (on the left) and they were thinking they were going to have to run a new set of wires all the way from the garage (where I'm taking the pic from), along the base of the driveway (on the right) and into the new shed to get electricity to it. This would require a lot of wire and a lot of digging. The other issue is that the electrician had run everything, the old shed and all the exterior lights, off of a timer so the lights would only be on for part of the evening. This meant that the lights inside the old shed and all the outlets would only work during the time that the timer was on.... not ideal.
Nate spent some time talking with my parents about what they actually wanted and came up with a plan that required very little digging and a lot more functionality. He then spent every afternoon/evening working to get it done.

The wiring going out to the shed could be disconnected from the timer and wired directly in the garage so the long stretch of wire didn't need to be dug up and we didn't have to add a new run. Instead, the guys dug up the section between the two sheds to access the wire and use that to add in the new shed. The cost of a new timer was only slightly less than the cost of running new wire but it saved a ton of digging and disruption so it was the preferred choice.
In the old shed, the new timer was installed and so was a new outlet. As long as the timers are setup the same way, the outside lights come on and go off at the same time. Now, when you switch on the light in the old shed, it always comes on, which will be especially nice when my parents have to get the plow out of the shed on a dark snowy day.

It took quite a few hours to rework everything but the materials were only about $200, which, for the size of this project, was pretty good. Hopefully it will make my parents' shed more functional and bring it one step closer to a finished workshop!
*We are not electricians but do have quite a lot of experience with electrical work and codes and so are more comfortable with this type of project. Higher a professional for any projects that you are not comfortable with and make sure you always follow your town's codes and pull all necessary permits.
No comments:
Post a Comment