
We are putting A LOT of shelves in our pantry. Here is a little diagram of our shelving plan.
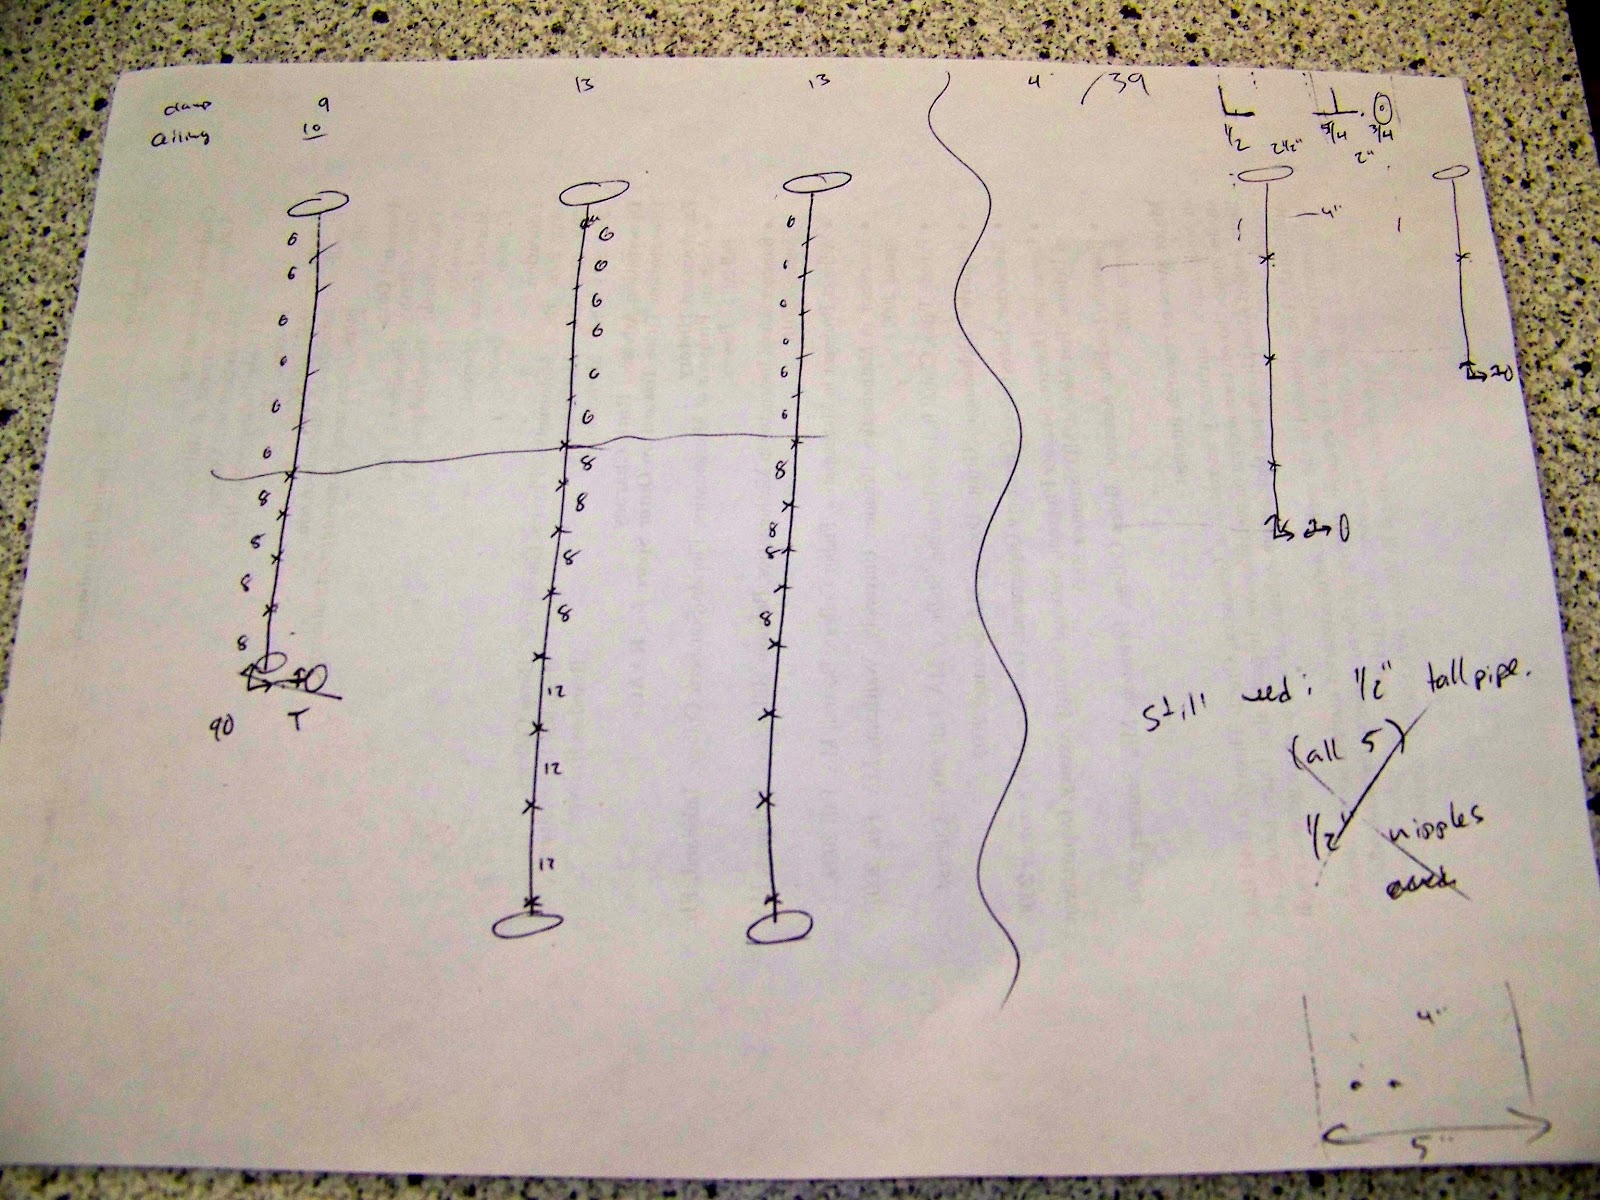
We are planning on having shelves of various heights and depths in our pantry so that it will hold whatever we want. Lots of shelving means a lot of material and if we were using wood, a lot of money.
Since we had so much shelving to do, and since we are planning on painting the shelves, we decided to go the route of MDF to cut down on costs. This way we could buy the material in sheets and cut everything down to the perfect size. After adding up all the square footage we would need for our shelves, we decided two sheets would do the trick. We got 3/4 inch thick MDF to match the thickness of shelves that were already in the space.

Then we whipped out Nate's new table saw and started to cut the MDF to the correct depth. We had shorter thicker shelves and longer thinner shelves. Out of one board we were able to get 12 of our shelves.
I was helping guide the MDF through the table saw but made Nate hold it still while I grabbed a pic. Here he is showing off his super strength (these sheets are heaaaavy!)

We only cut down one sheet this weekend and this is our end result; one big pile-o-shelves.

At this point the shelves were the correct depth but not the correct length. Away went the table saw and out came the chop saw. After carefully measuring how long we wanted each board, I chopped them all down to the correct lengths.
A trick I like to use is to carefully measure and cut the first board and then use the scrap piece of board to line up the blade for the rest of the boards. This works as long as you want your shelves to be the same length and as long as you always us the first scrap piece as your guide. This makes sure that any small errors don't propagate.

I brought one shelf in to make sure everything lined up correctly. This is apparently what I look like when I realize at the last minute that a picture is being taken without my knowledge (I think this was payback for the picture of Nate above :) ). The shelf was the correct length so I finished up my cuts and moved on to the next step.

The edges of the boards were quite pointy after being cut and so I brought out the sandpaper and sanded the edges down. I also rounded off the corners of the shelves going on the wall in the pic above since they will stick out a little bit.

I then laid the boards out on a couple of spare 2 x 4's in the driveway so I could paint them.

A nice coat of primer later the boards were starting to look a little more like shelves.

Now we just need to repeat this process for a bunch more shelves and do some painting! Hopefully by then our hardware for the shelves will be here and we can start installing them!
No comments:
Post a Comment